
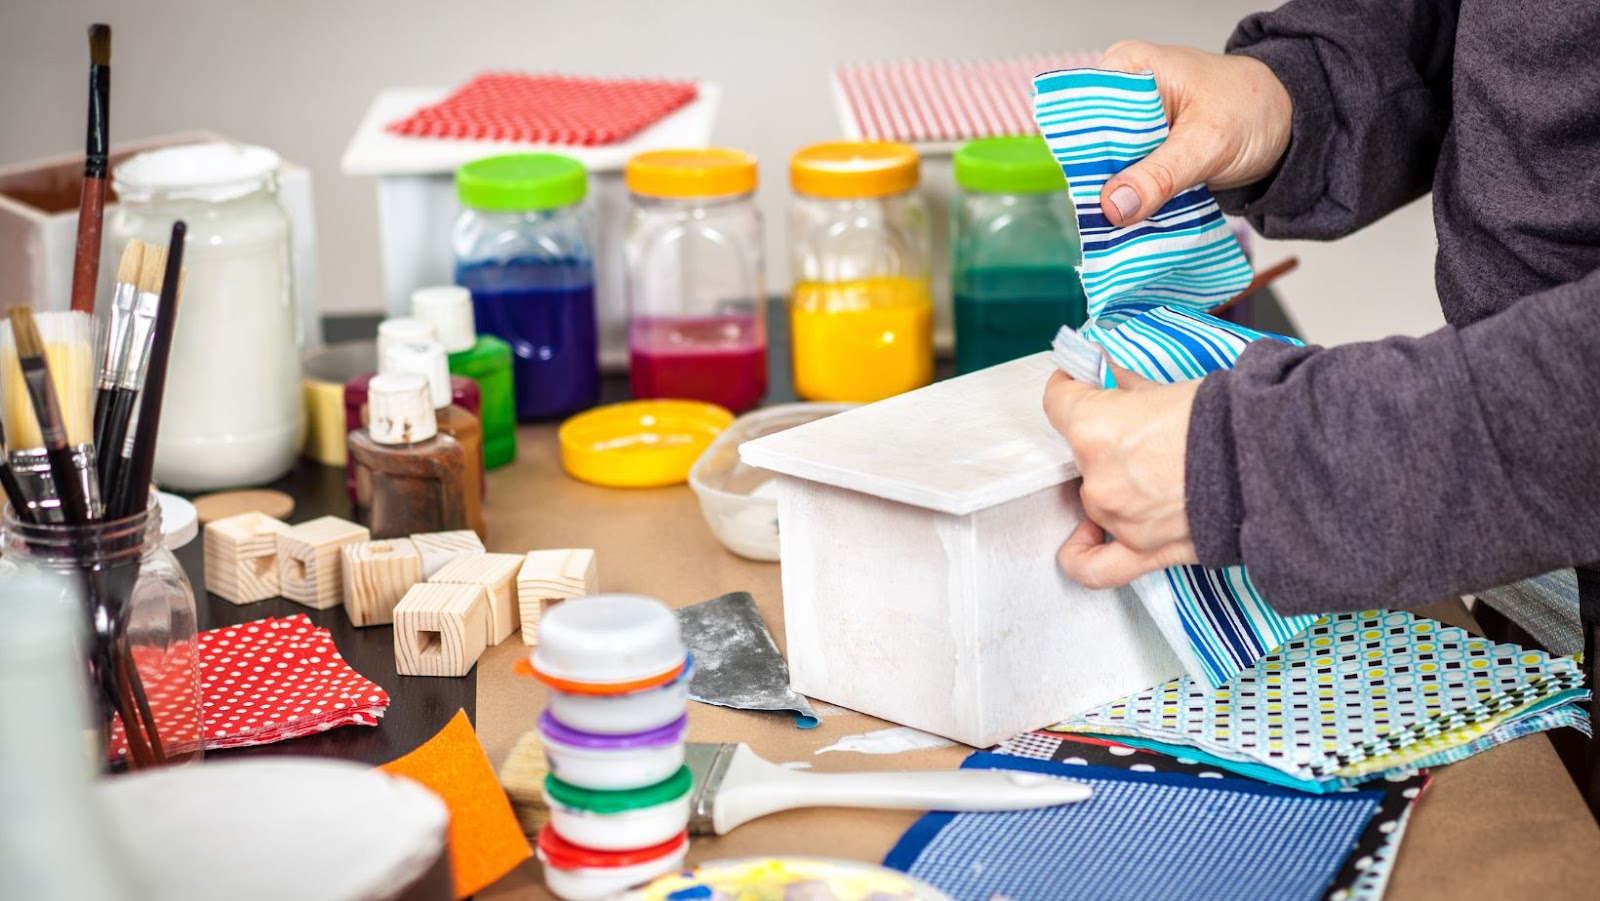
To get started with decoupage, you need to have the right materials. In order to achieve a flawless decoupage finish while revamping your furniture, you’ll need a few essential materials. These materials include paper, scissors, Mod Podge, paintbrush, and a good surface to decoupage on. We will explore each of these materials further in the upcoming sub-sections.
Paper
When working with decoupage, choosing the right type of paper is crucial. The paper used in decoupage must be thin and flexible, allowing it to adhere easily to the surface of the object being decorated. Tissue or rice paper are popular choices, as they are lightweight and translucent, making them ideal for layering. It is also important to consider the pattern on the paper – intricate designs may require more precision when cutting and placing than simpler patterns.
In addition to tissue and rice papers, other options include napkins, wrapping paper, and even pages from old books or magazines. These materials can add a unique texture or design element to your decoupage project. However, it is important to ensure that the paper you choose is acid-free, as acidic papers can cause discoloration over time.
Did you know that some specialty decoupage papers are coated in a layer of glue? These papers allow for easy application without needing an additional adhesive layer.
Scissors: because why use a boring old blade when you can chop things up in style?
Scissors
For cutting and shaping materials in decoupage, a cutting tool with two blades that move past each other known as ‘Cutting Scissors’ is used. These scissors are sharp, pointed and feature comfortable handles that provide a firm grip to the user.
Using Cutting Scissors ensures clean and precise cuts on paper, fabrics or other materials involved in decoupage. Additionally, these scissors come in various sizes and shapes to fit the specific needs of different projects.
In further observations, it is advisable to choose the Scissors that are lightweight yet durable. It can help reduce hand fatigue during longer periods of use. Also, make sure to keep your scissors well-oiled and sharpened regularly for best results.
To enhance the precision of cuts, it’s crucial to hold the Scissors correctly while handling them. One should hold them with their thumb and finger through loop holes suited for fingers while placing its end at a perpendicular angle to the material surface.
If you’re a fan of glue and sealing paper to things, Mod Podge is basically the Beyoncé of decoupage materials.

Mod Podge
The Material of Our Hearts: Understanding Mod Podge
| Properties | Uses |
| Versatile adhesive | Collaging and decoupage techniques. |
| Dries clear and glossy | Sealing, finishing, or protecting anything from paper to furniture. |
| Water-based formula | Makes cleanup easy and can be diluted with water. |
A unique feature of Mod Podge is its ability to transfer images onto surfaces. This adhesive seeps through a printed paper image and bonds it securely onto the surface’s fibers while creating a transparent yet permanent film.
This reminds me of my grandmother’s decoupage materials stash passed down to me. She inspired my creative efforts with her intricate design choices on picture frames and old birdhouses. She taught me how to incorporate different textures, like fabric or tissue paper, into each project. Mod Podge served as our essential go-to glue to complete these exquisite designs.
If you’re going to paint the town, you might as well do it with a decoupage paintbrush.
Paintbrush
For the process of decoupage, a brush is essential for applying glue and varnish to paper or fabric. The right type of brush varies based on the surface that will be receiving it; use a large, flat brush for bulky surfaces, and lighter round brushes for detailed work.
It’s crucial to maintain proper care of your brushes by washing them immediately after use with mild soap and water. A dry brush should never be used since it can ruin delicate paper or fabric. Store the clean and dry brush in its own case to avoid damage from other tools.
To achieve realistic texture effects on the decoupage object’s surface, utilize different types of paintbrushes, such as an angled trim brush or a fan brush. For more straightforward processes like applying new layers of Sealer or adhesive medium, utilize foam brushes.
When working on small details like edges, use tiny flat bristle brushes that are ideal for smaller areas. Clean these brushes after usage properly by disposing of them in warm soapy water and shaking off all residual glue before drying thoroughly.
Get ready to decoupage like a pro because with these surfaces, even your grandma’s antique vase can become a work of art!
How to Decoupage Furniture
When selecting a foundation for decoupage, it is essential to choose a clean, dry surface that will adhere to your medium without compromising its texture or color. Here is a six-step guide to help you select the perfect decoupage surface:
- Identify your project’s purpose.
- Select a suitable base material that works well with both your medium and your project goal.
- Prepare the surface by sanding away any rough spots and cleaning it thoroughly.
- If you plan on painting the surface before applying your decoupage, do so before moving on to the next step.
- Cut out your images and arrange them on the surface until you find a design that suits your tastes.
- Apply adhesive over the images using a brush or sponge, making sure there are no air pockets or creases.
It’s essential to select a base material that matches both your artistic vision and its intended use. Avoid porous surfaces like untreated wood or fabrics that could cause discoloration or fading over time. Instead, try using durable materials such as paper-mache, glassware, metal objects or painted ceramics.
Pro Tip: When working with porous materials such as wood, make sure they’re prepped beforehand with a watered-down glue solution (diluted craft glue works well) to seal any open areas where moisture may seep in.
Decoupage surfaces like a boss with these preparation tips – no sandpaper required!

Preparing Surfaces for Decoupage
To prepare surfaces in decoupage for a flawless finish, you need to follow a few essential steps. With the right technique, you can turn your old furniture into stunning works of art. The first step is to clean and sand surfaces. Then, it’s crucial to apply base coats before you begin decoupaging. These sub-sections are the key to a smooth decoupage process.
Cleaning and Sanding Surfaces
Cleaning and smoothening surfaces is vital to ensure that the surfaces are ready for decoupage. Proper preparation will enable the decoupage to adhere correctly and last long.
Below are five steps that should be considered when preparing surfaces for decoupage:
- Clean your surface: Remove any dirt, grease or debris from the surfaces that will be worked on. Use warm soapy water or a commercial cleaner specially designed for your surface type.
- Sanding rough edges: Sand down any rough areas to make a smooth base. This improves adhesion and makes it easier to apply the decoupage evenly, preventing tearing or bubbles.
- Wipe cleaned surfaces dry: Use a clean cloth, sponge or towel to dry all wiped surfaces properly. Ensure no moisture is left on the surface before continuing with the next step.
- Patching holes: Fill any large holes with plaster putty, or filler. Follow package instructions to let the putty set up according to can directions.
- Sanding filled patches: Once dried, sand down filled-in areas until they are level with the rest of the surface using 220 grit sandpaper in circular motions.
It is also important to note that painting may alter how porous or non-porous the final surface will be and changing texture as well.
Proper preparation of your surface is essential in ensuring high-quality results while avoiding wasted materials and time-consuming rework.
Get started today on creating stunning DIY creations using these tips! Get ready to paint the town (and your surfaces) with the first step in decoupage – applying those all-important base coats.
Applying Base Coats
To prepare surfaces for decoupage, it is essential to apply an appropriate base coat. A base coat provides a foundation for adhesion, durability, and color stability. Here’s how to apply a base coat in simple steps:
- Cleanse the surface of dust and debris with a damp cloth.
- Sand the surface using fine-grit sandpaper to remove any imperfections or bumps.
- Apply a primer to seal the surface and increase adhesion.
- Use a brush or roller to apply a thin layer of acrylic paint or gesso if using porous surfaces.
- Let it dry for several hours until it is completely dry.
- Sand lightly if needed before proceeding.
It is necessary to ensure that the basecoat does not impact the final outcome’s color by choosing paints that have good pigment binding properties.
It helps applying thinner layers systematically while avoiding drips and inconsistencies. To avoid irregularities in the texture, use quality brushes and avoid applying too much pressure when painting.
Using multiple thin layers instead of one thick layer can lead to greater coverage success, even tones, smooth finishes.
Applying the correct basecoat ensures your decoupage items last long without peeling or bubbling over time while highlighting their features with vibrant colors and textures.
Get ready for some serious papering-up, because the Decoupage process is about to rock your world!