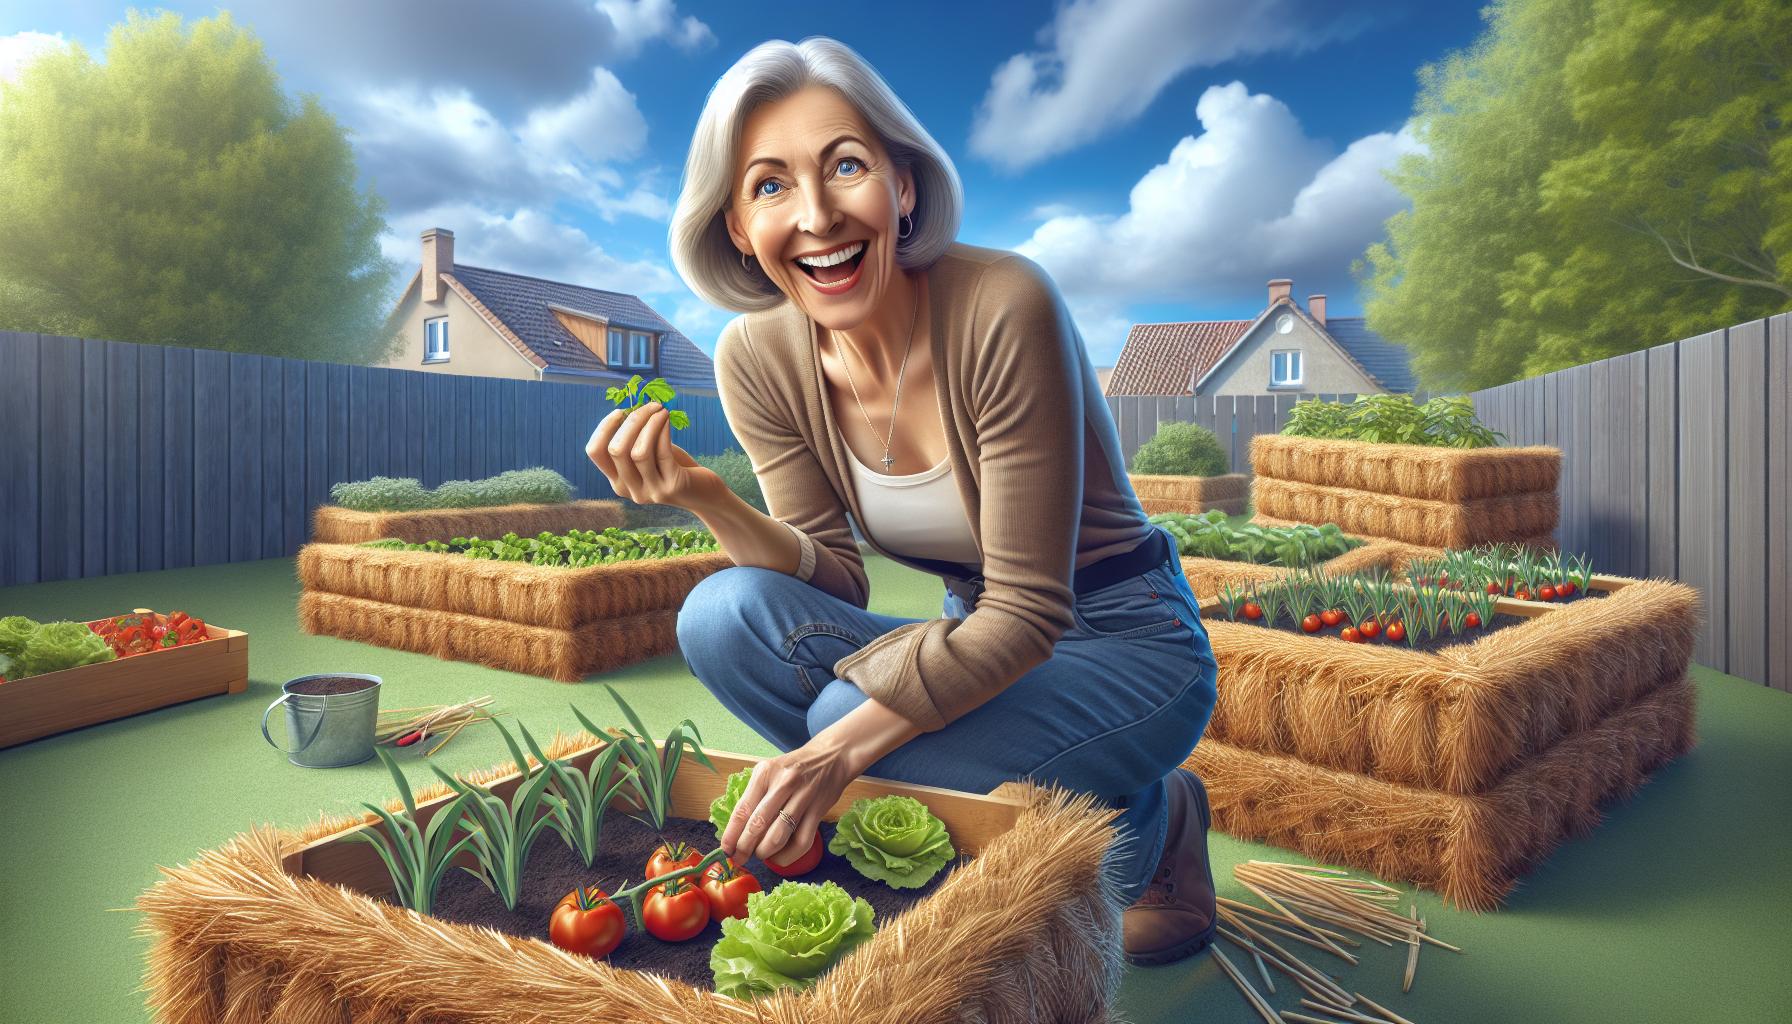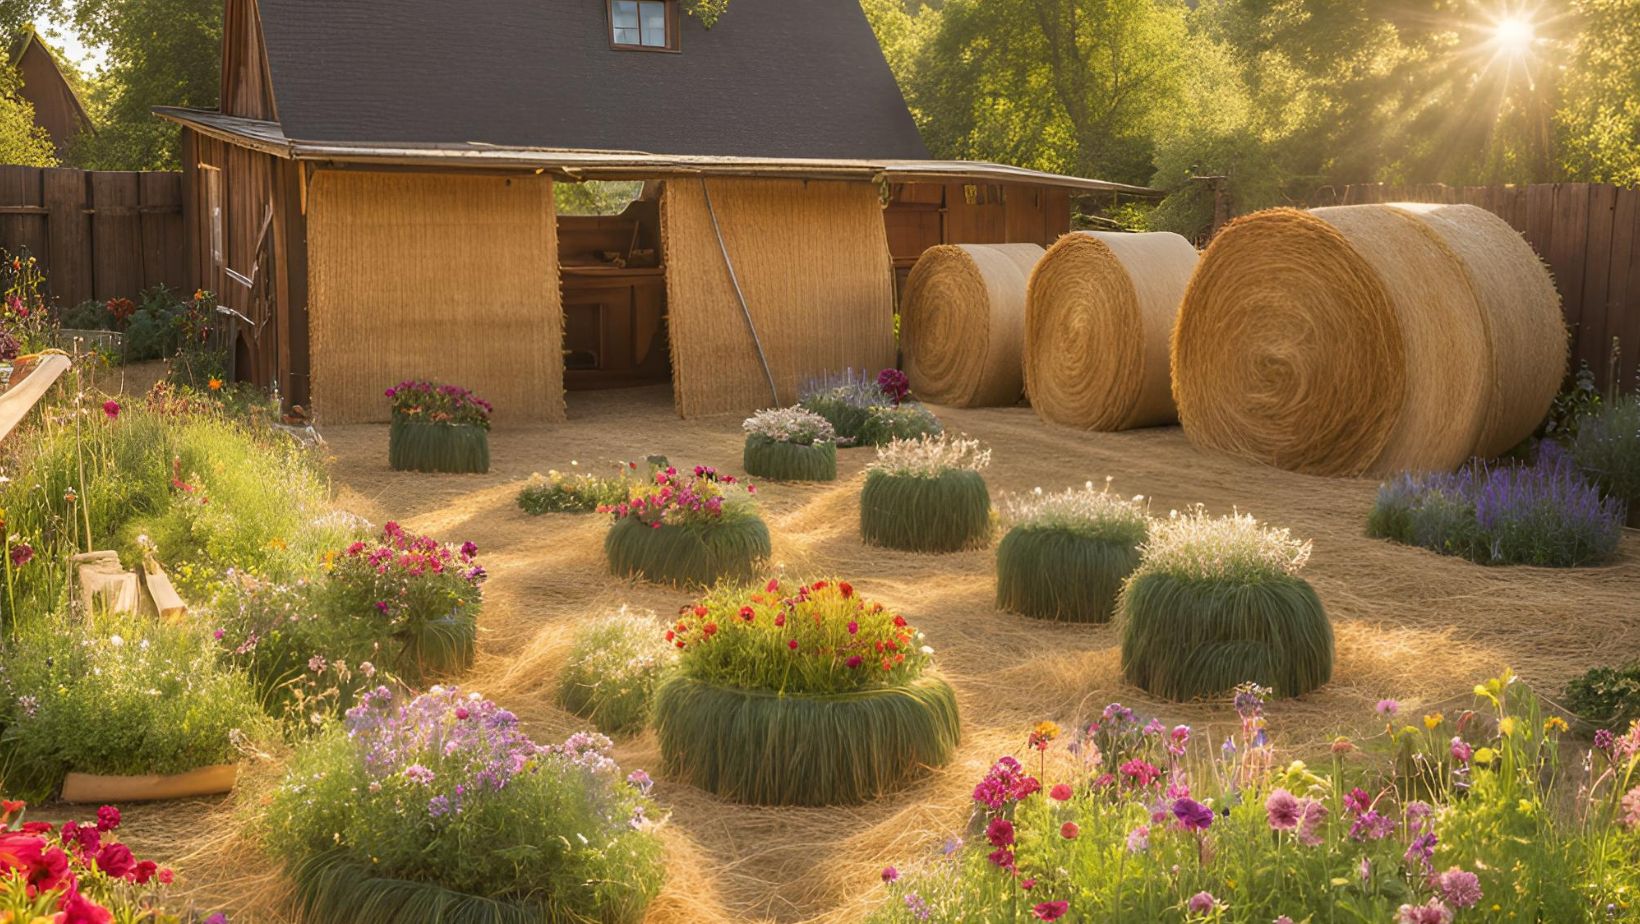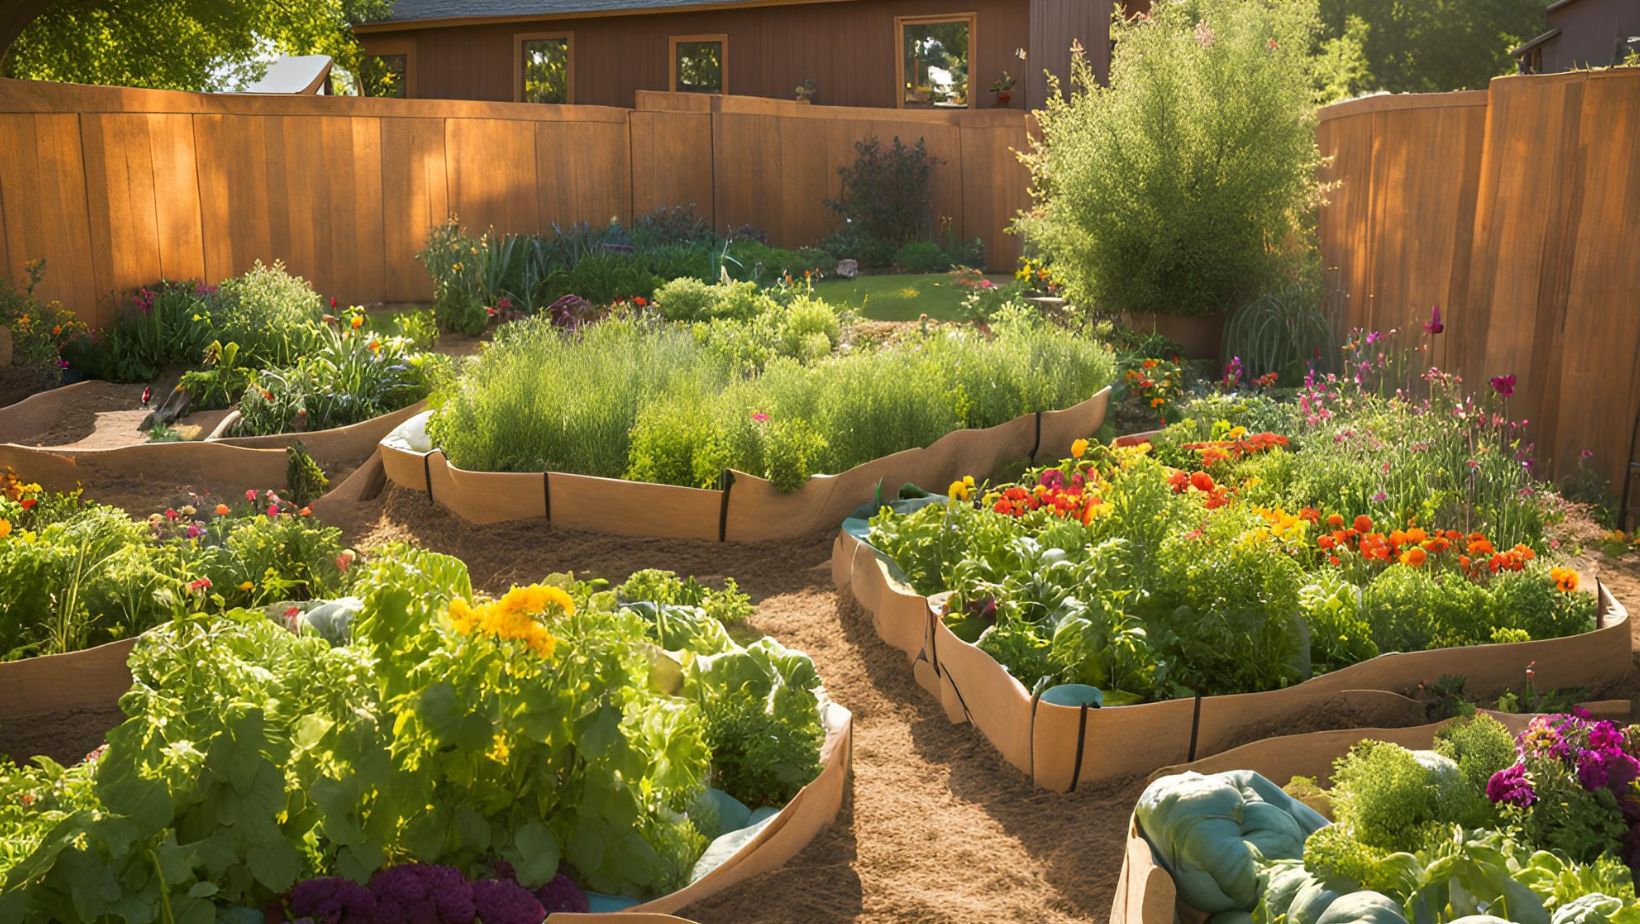
I’ve discovered an innovative gardening method that’s taking the DIY world by storm – strawbale gardening. This unique approach transforms ordinary bales of straw into fertile growing spaces perfect for vegetables herbs and flowers. As a passionate gardener I’m excited to share how this method has revolutionized my growing experience.
Growing plants in decomposing straw bales isn’t just a trendy garden hack – it’s a practical solution for anyone facing challenging soil conditions or limited growing space. I’ll never forget my amazement when I first harvested plump tomatoes and crisp lettuce from what started as simple straw bales in my backyard. The best part? This method eliminates the need for traditional soil preparation tilling and most heavy garden work.
Key Takeaways
- Strawbale gardening transforms ordinary straw bales into elevated growing spaces, eliminating the need for traditional soil preparation and making gardening accessible even in challenging conditions.
- The method requires a 10-12 day conditioning process with specific fertilization and watering schedules, during which bale temperatures rise to 120-130°F before stabilizing.
- Each bale (18″” x 24″” x 36″”) can support 2-3 tomato plants or 4-6 lettuce plants, providing 4-6 months of growing time before decomposing into compost.
- Regular maintenance includes twice-daily watering during hot weather and fertilizing every 3 weeks with balanced nutrients, adjusted based on plant feeding requirements.
- Common challenges like pest control, temperature management, and nutrient deficiencies can be effectively addressed through monitoring and targeted interventions.
Strawbale Gardening
Strawbale gardening transforms compressed straw bales into nutrient-rich growing containers for plants through a controlled decomposition process. I’ve found this innovative technique creates an elevated garden bed that’s perfect for growing vegetables herbs flowers.
Benefits of Growing in Straw Bales
- Elevated Growing Height: The 18-24 inch height eliminates bending strain on backs knees during planting maintenance harvesting
- No Soil Required: Growing directly in conditioned bales bypasses poor native soil issues including clay rocky compacted ground
- Weed Prevention: Sterilized straw bales contain minimal weed seeds unlike traditional garden soil
- Extended Growing Season: Decomposing straw generates heat allowing earlier spring planting later fall harvests
- Excellent Drainage: The structured straw provides optimal water retention while preventing root rot
- Portable Gardens: Bales can be positioned on any flat surface including concrete driveways patios decks
- Conditioning Phase: The 10-12 day process involves watering fertilizing bales to initiate decomposition
- Temperature Changes: Internal bale temperatures rise to 120-130°F during initial breakdown then stabilize
- Planting Method: Creating 4-6 inch deep pockets in the bale surface for seedlings direct seeding
- Nutrient Release: Decomposing straw releases nitrogen phosphorus potassium feeding plant roots
- Water Management: Daily watering maintains consistent moisture through drip irrigation soaker hoses
- Growing Season: Bales support one full growing season producing crops for 4-6 months
- End Cycle: Spent bales break down into rich compost for future garden use
| Bale Measurements | Specifications |
|---|---|
| Standard Size | 18″” x 24″” x 36″” |
| Weight | 40-50 pounds |
| Plants per Bale | 2-3 tomatoes or 4-6 lettuce |
| Water Retention | 3-4 gallons |
| Conditioning Time | 10-12 days |
| Growing Lifespan | 4-6 months |
Setting Up Your Strawbale Garden
Setting up a strawbale garden requires strategic placement and proper preparation of the bales to create optimal growing conditions. I’ve developed a systematic approach through years of experience that maximizes success rates for first-time strawbale gardeners.
Choosing and Preparing Bales
Clean wheat straw bales form the foundation of a successful strawbale garden. I select bales that are:
- Tightly bound with synthetic twine to prevent rotting
- Free from visible mold or mushrooms
- Dry with golden-yellow coloring
- Compressed to maintain a rectangular shape
I position the bales:
- On level ground or a weed barrier
- String-side down to prevent unraveling
- Long edges running east to west for maximum sun exposure
- 3 feet apart to allow easy access
- Near a reliable water source
Conditioning the Straw
The 12-day conditioning process transforms raw straw into a nutrient-rich growing medium:
Days 1-3:
- Saturate bales with water daily
- Apply 3 cups of high-nitrogen fertilizer (29-0-4) per bale
- Water thoroughly after fertilizer application
Days 4-6:
- Add 1.5 cups of nitrogen fertilizer daily
- Maintain consistent moisture
- Monitor internal temperature (120-130°F indicates active decomposition)
Days 7-9:
- Reduce to 0.75 cups of nitrogen fertilizer daily
- Continue daily watering
- Check bale temperature starts decreasing
Days 10-12:
- Add 3 cups of balanced fertilizer (10-10-10)
- Maintain moisture levels
- Verify bale temperature drops below 100°F
| Phase | Days | Temperature Range |
|---|---|---|
| Initial | 1-3 | 70-90°F |
| Peak | 4-6 | 120-130°F |
| Cooling | 7-9 | 100-120°F |
| Ready | 10-12 | Below 100°F |
Planting in Straw Bales
I’ve found that strawbale gardening requires specific techniques to maximize success. After conditioning the bales properly, it’s time to add plants using methods that ensure strong root development and optimal growth.
Best Plants for Strawbale Gardens
Straw bales excel at growing these types of plants:
- Root vegetables: Carrots, potatoes, beets
- Nightshades: Tomatoes, peppers, eggplants
- Leafy greens: Lettuce, spinach, kale
- Vine crops: Cucumbers, squash, melons
- Herbs: Basil, parsley, oregano
Plants to avoid in straw bales:
- Tall plants: Corn, sunflowers
- Deep-rooted crops: Asparagus
- Large spreading plants: Pumpkins
| Plant Type | Number of Plants per Bale | Days to Maturity |
|---|---|---|
| Tomatoes | 2-3 plants | 60-80 days |
| Lettuce | 4-6 plants | 45-55 days |
| Peppers | 3-4 plants | 60-90 days |
| Herbs | 4-6 plants | 30-40 days |
- Create planting holes
- Dig 6-inch deep pockets for transplants
- Space holes 12 inches apart
- Add 2 cups of compost to each pocket
- Install irrigation
- Place soaker hoses between plant rows
- Position drip emitters near plant bases
- Ensure even water distribution
- Plant seedlings
- Remove seedlings from containers carefully
- Place roots directly into compost-filled pockets
- Firm straw gently around plant bases
- Direct seeding method
- Create 2-inch deep furrows
- Space seeds according to packet instructions
- Cover with fine compost or potting mix
- Initial care
- Water immediately after planting
- Monitor moisture levels daily
- Add support stakes for climbing plants
Essential Care and Maintenance
I maintain my strawbale garden through systematic watering and fertilization schedules to ensure optimal plant growth. Regular monitoring and consistent care create an ideal growing environment for plants in straw bales.
Watering Requirements
Strawbale gardens require frequent watering to maintain consistent moisture levels. I water my bales twice daily during hot weather and once daily in cooler conditions, applying water until it drips from the bottom. Drip irrigation systems deliver 1-2 gallons of water per bale each day, maintaining optimal moisture without oversaturation. Installing moisture meters at 6-inch depths helps monitor water needs accurately.
Fertilizing Your Strawbale Garden
I apply balanced liquid fertilizer (10-10-10) every 3 weeks throughout the growing season. The feeding schedule varies based on plant types:
- Heavy feeders (tomatoes peppers eggplants): 2 tablespoons per bale weekly
- Medium feeders (cucumbers lettuce): 1 tablespoon per bale biweekly
- Light feeders (herbs beans): 1 tablespoon per bale monthly
- Fish emulsion (5-1-1)
- Seaweed extract (0-0-1)
- Compost tea (varies)
| Plant Type | Fertilizer Amount | Application Frequency |
|---|---|---|
| Heavy Feeders | 2 tbsp/bale | Weekly |
| Medium Feeders | 1 tbsp/bale | Biweekly |
| Light Feeders | 1 tbsp/bale | Monthly |
Common Problems and Solutions
Pest Management
I’ve encountered several pests in my strawbale gardening, but their management is straightforward. Slugs thrive in the moist environment of straw bales – I place copper tape around the bales or use diatomaceous earth as a barrier. For aphids infestations, I spray a mixture of 1 tablespoon neem oil per gallon of water directly on affected plants. Cutworms occasionally appear in the bales – I protect young seedlings with 3-inch cardboard collars.
Temperature Fluctuations
Temperature management requires specific interventions. During cold snaps, I cover plants with floating row covers, providing 4-6 degrees of frost protection. For extreme heat, I install shade cloth that blocks 30-40% of sunlight above the bales. Internal bale temperatures exceeding 100°F indicate incomplete conditioning – I monitor with a compost thermometer inserted 6 inches deep.
Nutrient Deficiencies
Nutrient issues display distinct symptoms in strawbale gardening:
- Yellowing leaves indicate nitrogen deficiency – I apply blood meal at 2 cups per bale
- Purple-tinged leaves signal phosphorus shortage – I add bone meal at 1.5 cups per bale
- Brown leaf edges suggest potassium lack – I supplement with wood ash at 1 cup per bale
Structural Issues
Bale integrity problems require immediate attention:
- Loose bindings – I reinforce with poly twine wrapped horizontally
- Premature decomposition – I support bale sides with 2×4 lumber frames
- Uneven settling – I level bales by adding straw under low spots
- Tipping bales – I stake them with 24-inch metal posts at each end
Moisture Problems
Moisture management challenges include:
- Underwatering signs: dry, brittle straw surface
- Overwatering indicators: slimy bale texture green algae growth
- Uneven moisture: dry patches amid wet areas
- Installing moisture meters at 6-inch depth
- Adding drip irrigation with pressure regulators
- Applying mulch layers to retain moisture
- Creating drainage channels between bales
A Game-Changing Approach
I’ve found strawbale gardening to be a game-changing approach that’s transformed my gardening experience. It’s an accessible method that lets anyone create a thriving garden regardless of their space or soil conditions.
From my hands-on experience I can confidently say that the benefits far outweigh the initial setup effort. With proper conditioning care and maintenance strawbale gardens offer an efficient sustainable way to grow fresh produce.
Whether you’re a beginner or an experienced gardener I encourage you to give this innovative technique a try. You’ll likely discover as I did that strawbale gardening opens up exciting new possibilities for growing your own food.


